Making the Trailer (Part III)
After the images were created, it was time to start animating and compositing. Because we were working primarily with .png images, we were limited in movement. Since the style that we chose had the characters move as marionettes, this wasn’t so bad. We also decided that in the interest of time and complexity, we’d shoot the characters from the waist up so that we didn’t have to worry about leg movement and walk cycles. Walk cycles are a huge pain in the ass.
I’m lucky in that where I work, we have a license for Anime Studio Pro 9, Adobe After Effects, and Adobe Premiere Pro. These are all fantastic tools.
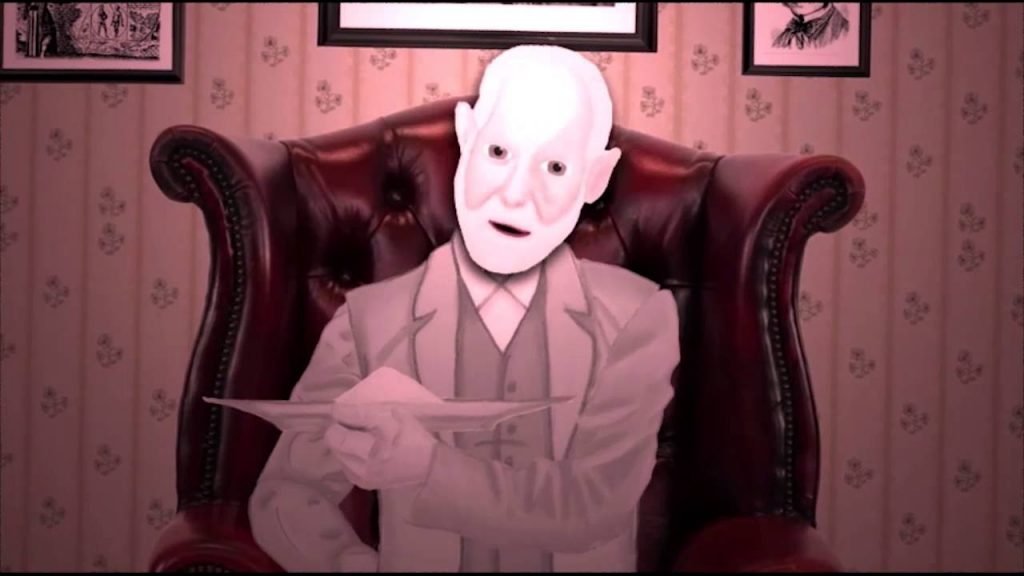
As an example, I’ll use one of the more complex scenes, the one with Sartre and the explosion. There were a ton of elements added to this shot and now that I’m thinking about it, one that I should have added. I should have added some particle dust in the foreground. I didn’t and the trailer is done, so I guess that’s too bad.
First thing’s first. Putting Sartre together from the drawings.
This is the program I use. If you look to the right, even though you can’t really see it, you’ll notice how many layers there are already. Next I’ll add a green background. Normally you would add the backgrounds in this program, but I have to use a green screen because I want to add shadows and depth. You can add some of the in this program, but I prefer to work in After Effects, so here is the render from Anime Studio that will be used.
There are a couple of flecks of white background left with him, but given what we’re doing, it’s an acceptable amount, I think. Also, it’s longer than I need it but that’s fine for now. Next, I’ll dump this in After Effects to start adding the background material.
So, this picture is supposed to be the destroyed board room at Heaven Inc. (a location in the book). Now, it doesn’t really look like a board room, but the clip is about 2 seconds long and there are still a ton of elements to add. The image is all flat and nasty, so let’s put it in a 3D space and add some light and shadow.
There we go… that looks a bit better. And the color is ominous. Oooooo. Now I’m going to add some atmosphere. It’s supposed to be chaotic. There was a fire. Let’s make some fire! For this I used stock smoke and fire. With the lighting that I used, it was difficult to get the background smoke right. I had to use a very dark smoke for the background and it still comes off as being pretty light. I suppose I could turned off the “accept light” element but I wanted it to blend as nicely as possible.
Okay, now the clip is ready for some sound. I exported this clip, as I felt it was ready to be included in the final timeline. So, here is the final clip with the sound and a whole bunch of black space after it:
And so, from start to finish, we’ve spent no less than four hours to make those 2 second. Hurray! What was so difficult about that? Now all that remains is promoting the video, so that people will actually see it. There is the question about the use of Led Zeppelin in the clips. I have used the least amount possible and does nothing to harm sales for the song, etc. I believe (pray, hope) that it falls under the fair use policy. There is no malicious intent to steal the music and Loki’s magical ability in the book is to summons the music of Led Zeppelin, so it’s very relevant. Anyway, that is a brief (compared to actually making it) rundown of how my trailer was made. Here is the final project for you to enjoy!
